Honesty, integrity & experience
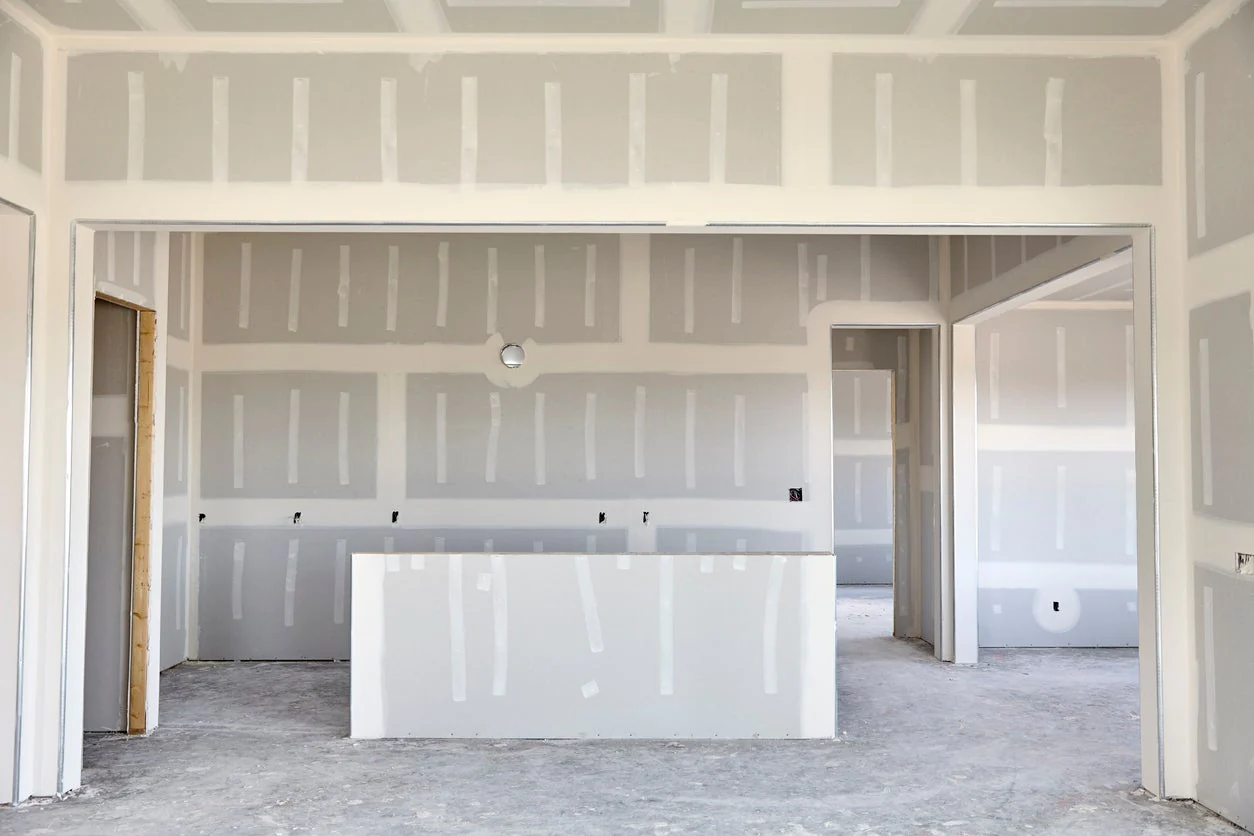
Drywall, often referred to as gypsum board or sheetrock, is the unsung hero of interior construction. It’s the canvas upon which the aesthetics and functionality of a space are created. Whether you’re renovating your home or involved in a new construction project, understanding the art of drywall installation is essential for achieving a flawless finish. In this comprehensive guide, we will explore the tips and tricks that professionals use to master the craft of drywall installation.
The Significance of Drywall
Before delving into the intricacies of drywall installation, it’s crucial to understand why drywall is such a vital component of modern construction:
1. Aesthetic Foundation
Drywall serves as the foundation for the aesthetic appeal of your interior spaces. It provides a smooth and even surface that can be painted, textured, or adorned with various finishes to match your design vision.
2. Structural Integrity
While drywall is not a load-bearing material, it contributes to the structural integrity of a building. It helps distribute loads evenly across walls and ceilings, ensuring stability.
3. Sound and Fire Resistance
Special types of drywall, such as soundproof and fire-resistant variants, enhance the safety and comfort of your living or working space.
Understanding the Basics of Drywall
Before we delve into the tips and tricks for installation, let’s establish a fundamental understanding of drywall itself:
1. Drywall Types
There are different types of drywall, each with its unique characteristics:
- Standard Drywall: Used in most residential and commercial applications.
- Moisture-Resistant Drywall: Ideal for areas prone to moisture, such as bathrooms and kitchens.
- Fire-Resistant Drywall: Enhances fire safety and is often used in garages and shared walls.
- Soundproof Drywall: Designed to reduce noise transmission between rooms or floors.
2. Drywall Sizes
Drywall comes in various sizes, with the most common being 4×8 feet. Larger sheets, such as 4×12 feet, are also available for more extensive projects. The choice of size depends on the project’s scale and the ease of handling.
Tips and Tricks for Flawless Drywall Installation
Now that we have a solid foundation, let’s explore the tips and tricks that will help you master the art of drywall installation:
1. Measure and Plan Thoroughly
The first step to a successful drywall installation is careful planning. Measure the dimensions of your space accurately, taking into account openings for doors, windows, and electrical outlets. Plan the layout to minimize waste and avoid awkward seams.
2. Invest in the Right Tools
Having the proper tools is essential for efficient and precise drywall installation. Some essential tools include:
- Tape Measure
- Utility Knife
- Drywall T-Square
- Drywall Screws and Screw Gun
- Drywall Saw
- Drywall Rasp
- Drywall Lift (for ceilings)
3. Cutting Drywall
When cutting drywall sheets, use a T-square and a utility knife to score the front surface. Then, gently snap the sheet along the score line. Finish the cut by running the utility knife through the backside of the drywall. For irregular shapes or openings, use a drywall saw.
4. Hanging Drywall
Begin with the ceiling if you are installing drywall on walls and ceilings. Use a drywall lift to support the sheets while you secure them to the framing with drywall screws. Ensure that the screws are driven just below the surface of the drywall without breaking the paper surface.
5. Taping and Mudding
Taping and mudding are crucial steps for achieving a seamless finish. Here’s a professional approach:
- Apply a thin layer of joint compound (mud) along seams and screw indentations.
- Embed drywall tape into the mud while it’s still wet, pressing it firmly to remove air bubbles.
- Apply a second and third coat of mud, feathering the edges to create a smooth transition.
- Sand the drywall after each coat to remove imperfections.
6. Sanding and Sanding Tools
Proper sanding is essential for a smooth and uniform finish. Use a sanding block or pole sander to create a level surface. Be patient and avoid oversanding, which can damage the drywall paper.
7. Priming and Painting
After sanding, prime the drywall to seal the surface and provide a suitable base for paint. Once the primer is dry, apply your chosen paint color or finish. Multiple coats may be necessary for a flawless appearance.
8. Addressing Imperfections
Inspect the painted surface carefully, and if you notice any imperfections such as bubbles, cracks, or uneven areas, address them promptly. Sand and touch up as needed before applying the final coat of paint.
9. Texture and Finish Options
Consider the texture and finish you want for your drywall. Common options include smooth, textured, and stippled finishes. The choice depends on your design preferences and the desired aesthetics of your space.
10. Soundproofing and Insulation
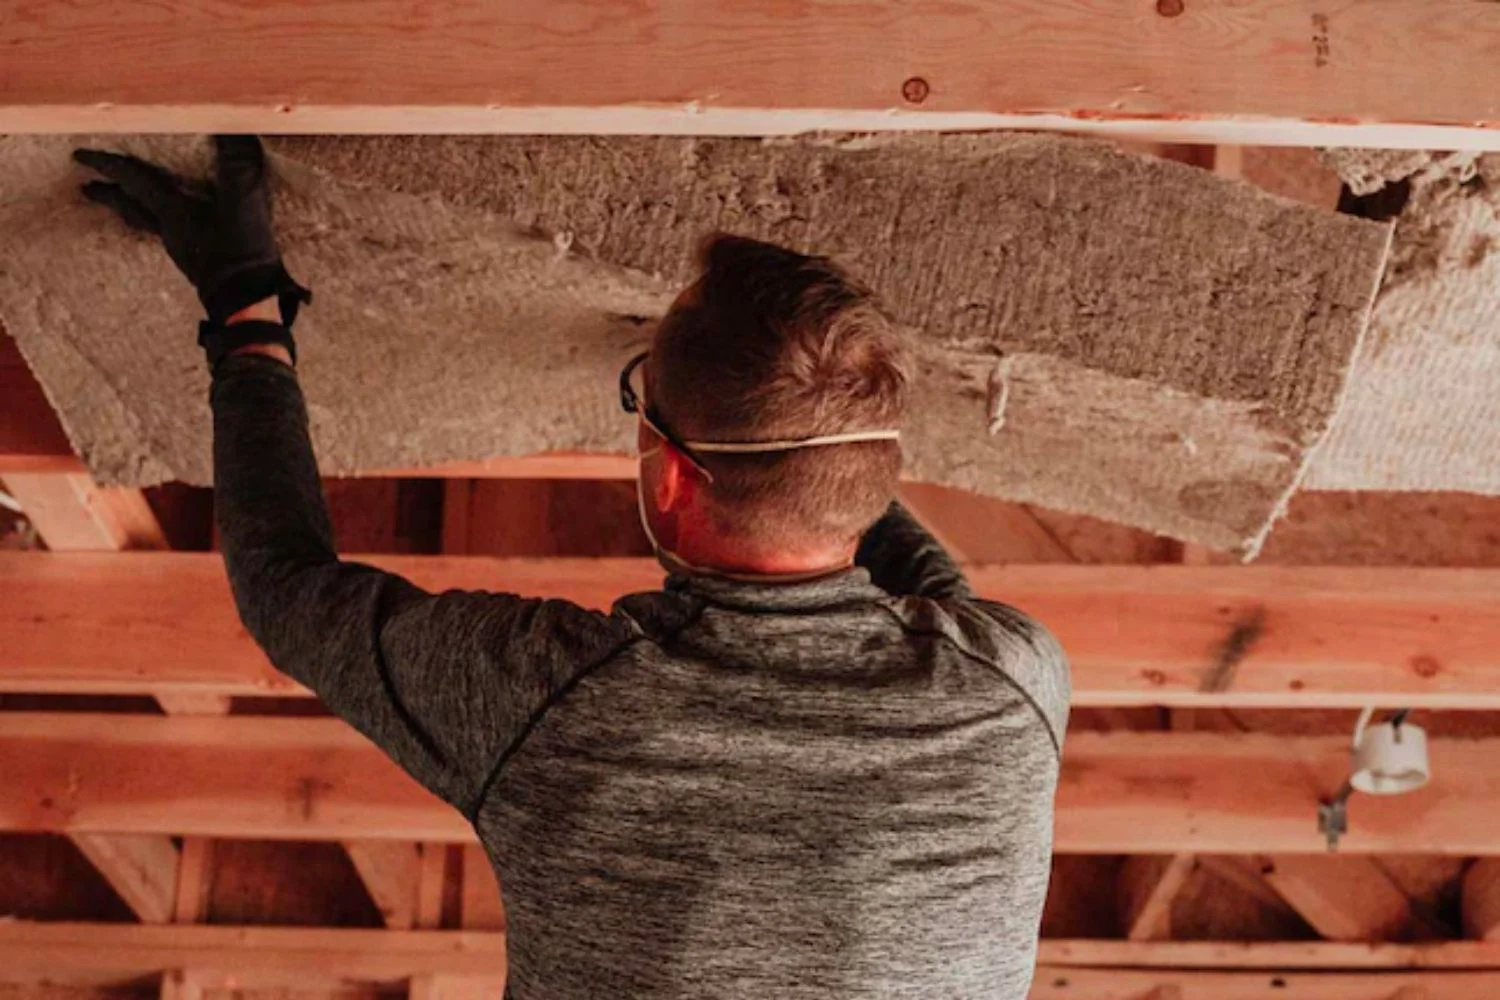
For enhanced soundproofing or insulation, consider using specialized drywall products designed to address these needs. These products can significantly improve the comfort and functionality of your space.
Common Challenges and How to Overcome Them
1. Dealing with Drywall Seams
Achieving seamless drywall seams can be challenging. To overcome this, take your time when taping and mudding. Feather the edges of the mud to create a gradual transition.
2. Sanding Dust
Sanding drywall creates a lot of dust, which can be a nuisance. To minimize dust, use a vacuum attachment while sanding, and cover nearby furniture and fixtures.
3. Matching Texture
Matching the texture of existing drywall can be tricky. Consider hiring a professional if you’re not confident in your ability to replicate the texture effectively.
Conclusion
Mastering the art of drywall installation is a valuable skill that can save you money and add a personal touch to your space. Whether you’re tackling a DIY project or overseeing a construction project, following these tips and tricks will help you achieve a flawless drywall finish. Remember that patience and attention to detail are key to achieving professional results. With the right tools, techniques, and a commitment to craftsmanship, you can transform your space into a beautifully finished and functional environment.
continue reading
Related Posts
In a world increasingly focused on sustainability and energy conservation, the concept of an energy-efficient home has gained significant prominence.
In an increasingly noisy world, finding tranquility and peace within our living and working spaces has become a precious commodity.
In an unpredictable world, where unforeseen events can change lives in an instant, the importance of safety cannot be overstated.


